Pumpkin Preservation: How to Keep Your Pumpkin from Rotting
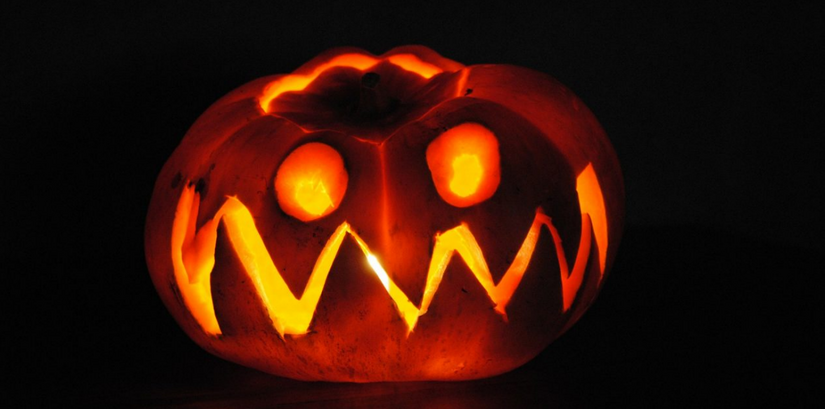
As the leaves change colors and the air turns crisp, the arrival of autumn brings with it the time-honored tradition of pumpkin carving. Whether you're preparing for Halloween or simply embracing the cozy vibes of the season, preserving your intricately carved pumpkin or showcasing your favorite fall gourd as long as possible is a top priority. Welcome to our guide on "Pumpkin Preservation," where we'll share invaluable tips and techniques to ensure your pumpkins stay fresh and vibrant for an extended period, effectively preventing pumpkin rot and allowing you to enjoy their beauty throughout the season.
Method 1: Preserving Your Pumpkin with a Water and Bleach Wash
Microorganisms play a significant role in the decomposition of pumpkins, leading to their untimely rotting. To thwart this natural process and extend the lifespan of your pumpkin masterpiece, it's essential to eliminate these microorganisms. One of the most effective methods for achieving this is by employing a water and bleach wash. This solution acts as a powerful microbial disinfectant, helping to preserve the freshness and vibrancy of your pumpkin by neutralizing the culprits responsible for decay. In the following steps, we will guide you through the process of utilizing a water and bleach wash to safeguard your pumpkin from rot and ensure it remains a captivating part of your seasonal décor for an extended period.
 Step 1: Gather Your Materials
Before you begin, ensure you have the following materials ready:
- Clean bucket or large container
- Bleach
- Water
- Scrub brush or sponge
- Pair of rubber gloves
- Towel
- Carving tool or knife
- Spray bottle (optional)
Step 2: Prepare Your Work Area
Choose a well-ventilated and safe area for working with bleach. It's a good idea to do this outside or in a well-ventilated space, like a garage. Lay down a protective surface, such as an old tablecloth or newspaper, to catch any drips and prevent damage to your work area.
Step 3: Carve Your Pumpkin
If you haven't already carved your pumpkin, start by carefully designing and carving your masterpiece. Remember to scoop out the seeds and pulp, leaving the interior clean.
Step 4: Create the Bleach Solution
In your clean bucket or container, mix a solution of one part bleach to ten parts water. For example, if you're using one cup of bleach, you should dilute it with ten cups of water. This ratio ensures that the bleach is effective at killing microorganisms without damaging your pumpkin.
Step 5: Soak Your Pumpkin
Dip your carved pumpkin into the bleach and water solution. You may also use a sponge or scrub brush to apply the solution to the exterior and interior of your pumpkin. Ensure all surfaces, including the cut edges, are thoroughly coated with the solution.
Step 6: Allow for Drying
Leave your pumpkin to air dry. The bleach solution will help eliminate microorganisms that could cause decay. Allow your pumpkin to sit for about 20-30 minutes or until it's completely dry.
Step 7: Optional Sealing
For extra protection, you can apply a pumpkin-safe sealant or vegetable oil to the interior and cut edges of your pumpkin to lock in moisture and slow down the drying process.
Step 8: Display and Enjoy
Now that your pumpkin has been treated with the bleach and water wash, it's ready to be displayed. Remember to keep it in a cool, dry place away from direct sunlight and extreme temperature changes. Regularly check your pumpkin, and if you notice any signs of drying or decay, you can reapply the bleach and water wash to extend its freshness.
Method 2: Preserving Your Pumpkin with WD40
The old saying goes that with WD-40 and duct tape, you can tackle just about anything. Surprisingly, in the world of pumpkin preservation, WD-40 indeed has a role to play in extending the life of your Jack-O’-Lantern. In this section, we'll explore a unique approach using WD-40 to safeguard your pumpkin carving, keeping it fresh and vibrant throughout the autumn season. Follow the steps below to learn how this unconventional but effective method can help you defy the forces of decay and enjoy your pumpkin masterpiece for an extended time.
Step 1: Gather Your Materials
Before you begin, ensure you have the following materials ready:
- Can of WD-40
- Clean, dry cloth or paper towels
- Carving tool or knife
- Towel or cloth for handling
Step 2: Carve Your Pumpkin
If you haven't already, design and carve your pumpkin with your desired pattern or face. Make sure to scoop out the seeds and pulp, leaving the interior clean.
Step 3: Apply WD-40
Spray a small amount of WD-40 onto a clean, dry cloth or paper towel. You don't need much, just enough to create a thin, even layer.
Step 4: Gently Coat the Exterior
Wipe the exterior of your carved pumpkin with the cloth or paper towel that has the WD-40 applied to it. Make sure to cover all carved surfaces, as well as the uncarved areas. The WD-40 will create a protective barrier that helps deter moisture and microbial activity.
Step 5: Allow for Drying
Let your pumpkin air dry for about 15-20 minutes. During this time, the WD-40 will set and create a protective layer.
Step 6: Display and Enjoy
Now that you've treated your pumpkin with the WD-40 method, it's ready to be displayed. Place it in a cool, dry spot, away from direct sunlight and extreme temperature changes. Regularly check your pumpkin, and if you notice any signs of drying or decay, you can reapply the WD-40 treatment to maintain its longevity.
Other Blog Posts You May Be Interested In:
5 Houseplants You Can't Kill
Winter Pruning For Roses

About RightPlantz - RightPlantz is your go-to source for all things gardening. RightPlantz grows better gardeners.


